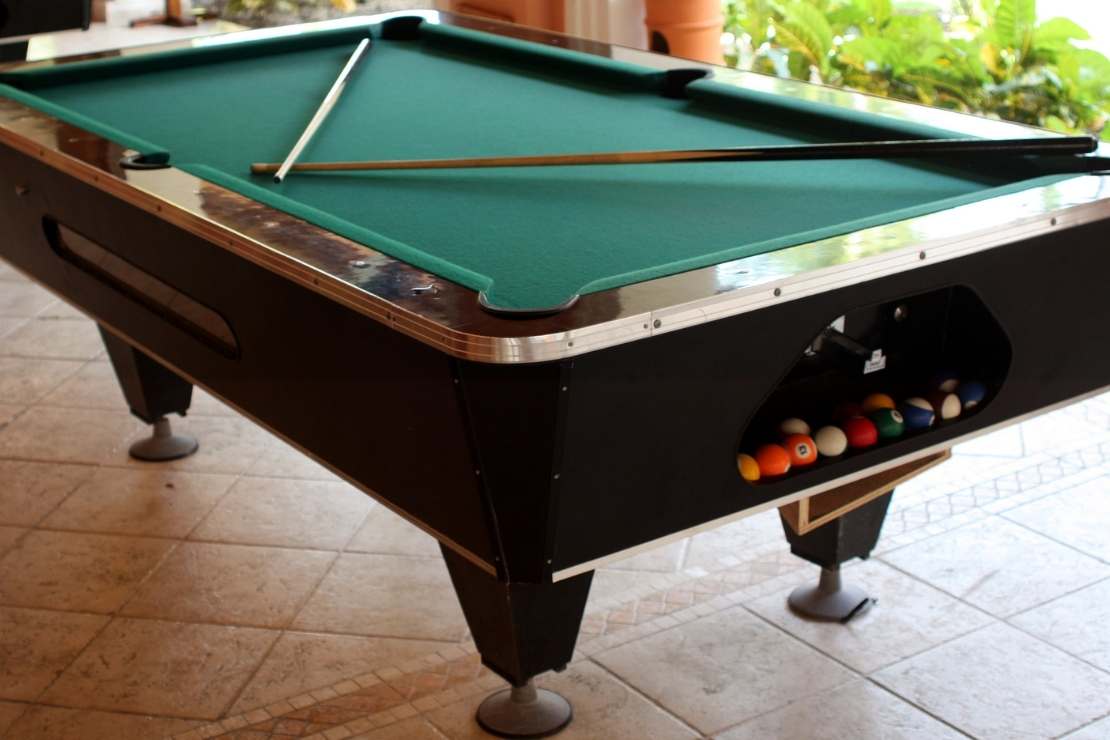
Moving a pool table is one of the most challenging tasks in any relocation. A standard pool table weighs between five hundred and one thousand pounds and consists of heavy slate panels delicate cushioning and a robust frame. Proper planning professional tools and methodical execution are essential to prevent damage to your table walls flooring and most importantly the people helping with the move. This comprehensive guide from Flamingo Moving will walk you through each stage from initial preparation to final assembly to ensure your pool table arrives in perfect playing condition.
A pool table is more than furniture. It is a precision instrument that relies on a perfectly level slate surface and intact cushions for accurate play. Improper handling can cause warped slate loose rails and torn cloth all of which compromise gameplay and can result in costly repairs. By following a structured process and using the right materials you minimize risk and ensure a smooth relocation that protects your investment.
Each of these steps demands attention to detail and coordination among your moving team. Flamingo Moving’s experienced crews follow this exact procedure to deliver stress free results for Port Charlotte residents.
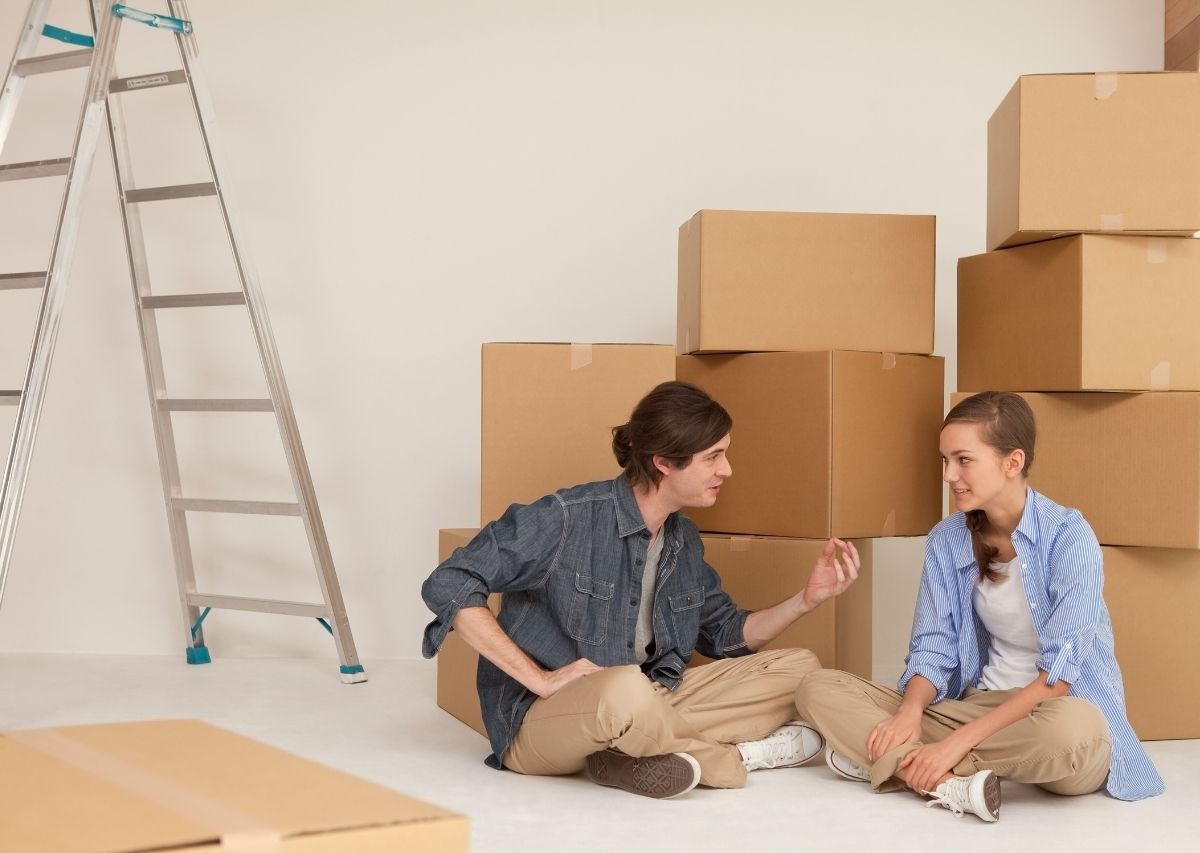
Before beginning your pool table disassembly, it’s helpful to review what to pack first when moving to organize your packing strategy efficiently and avoid last-minute stress.
Begin by measuring the footprint of your table and the dimensions of doorways hallways and stairwells. Confirm that each component can pass through openings without force. Determine if any sections need temporary removal from walls or corners to gain clearance.
Secure the following items before you start:
As you gather tools and materials, consider sourcing sturdy containers—especially for small components and hardware—by checking where to get moving boxes near you. Having the right gear avoids last moment trips to the store and keeps the project on track.
Remove all furniture appliances and decorative items along the route from the table to your moving vehicle. Relocate rugs and mats to avoid tripping hazards and to provide a clear working area.
Lay moving blankets or cardboard sheets along the path. Secure blankets with painter’s tape to prevent slipping. Place corner protectors on door frames and use additional padding on walls where the table will pass.
Pool tables typically consist of a wooden frame legs rails cushions and slate panels. Disassembling in the correct order reduces risk of damage and makes later reassembly straightforward.
When wrapping rails, cushions, and frame sections, refer to our guide on how to wrap furniture for moving to ensure maximum protection against scratches and dents. Organized packing protects components and streamlines loading. Keep hardware organized and labeled.
Place bolts screws and small parts into plastic bins. Attach a label describing where the hardware belongs and secure the bin to one of the frame pieces with tape.
Continue wrapping rails cushions frame sections and legs in moving blankets. Straps or rope keep blankets snug but avoid over tightening which could dent wood.
Proper loading secures components and balances weight in your moving vehicle.
Drive slowly over speed bumps and avoid sharp turns. Smooth driving protects fragile slate panels and prevents items from shifting.
Reassembling properly is as important as disassembly. A level table ensures consistent play.
Move the frame into its final location following chalk lines drawn earlier to mark exact placement. Avoid sliding pieces or dragging them over flooring.
Securely bolt each leg to the frame but leave bolts slightly loose. Place a carpenter’s level across multiple points of the frame. Adjust leg feet or insert shims under legs until the frame is perfectly level in both directions. Then tighten leg bolts fully.
A final inspection ensures your pool table is ready for play and free of defects.
Roll a ball across the table in multiple directions checking for consistent slope or drift. Make micro adjustments with shims or leg feet until the table is perfectly balanced.
Bounce a cue ball off each rail checking for uniform rebound. Proper cushion attachment is critical for accurate bank shots.
If you removed play cloth remove old staples carefully then re stretch new cloth with a cloth stapler kit. Start at the center of each side pulling fabric taut then work outward in small increments to avoid wrinkles. Trim excess cloth flush with rail edges.
Brush the cloth with a pool table brush to remove lint and chalk dust. Clean rails and frame surfaces to remove fingerprints or tape residue.
Flamingo Moving specializes in heavy specialty items including pool tables. Our team combines local knowledge precise handling and expert reassembly to deliver:
Whether you are moving across Port Charlotte or to another city in Florida our trained professionals make your pool table relocation seamless and worry free.
1. How many people do I need to move a pool table safely?
A minimum of four strong helpers is recommended to handle slate panels frame sections and rails safely. Each slate piece weighs up to two hundred pounds and requires coordinated lifting. Flamingo Moving provides a professional crew experienced in team lifts and specialized moving equipment for pool tables in Port Charlotte FL.
2. Can I move a pool table myself or should I hire professionals?
While smaller tables can sometimes be handled by do it yourselfers with rental dollies and proper tools larger tables especially those with three piece slate require professional expertise to avoid damage. Flamingo Moving offers trained crews and full service packing transport and reassembly tailored for pool tables ensuring a safe relocation and accurate leveling for perfect play.
3. What is the cost to move a pool table in Port Charlotte FL?
Pool table moving costs depend on table size number of slate sections distance and any obstacles such as stairs or narrow hallways. On average expect a full service move by Flamingo Moving to range between two hundred and five hundred dollars within Port Charlotte FL. This includes disassembly packing wrapping transport and reassembly with level verification. A precise quote is provided after an on site assessment.
-216w.webp)


.png)